About
Blog
Portfolio
Workbench
Contact
Latest Projects
View All →
view project
Waking the Wolf
view project
Ceremonial Quill Earpiece
view project
The Bone Mask
view project
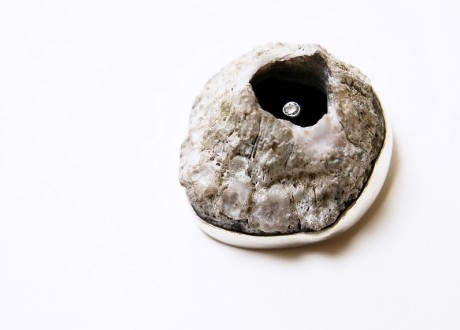
Hidden Treasure